Using Router Sandbox
Step 1) Go to this link. You should see the following screen:
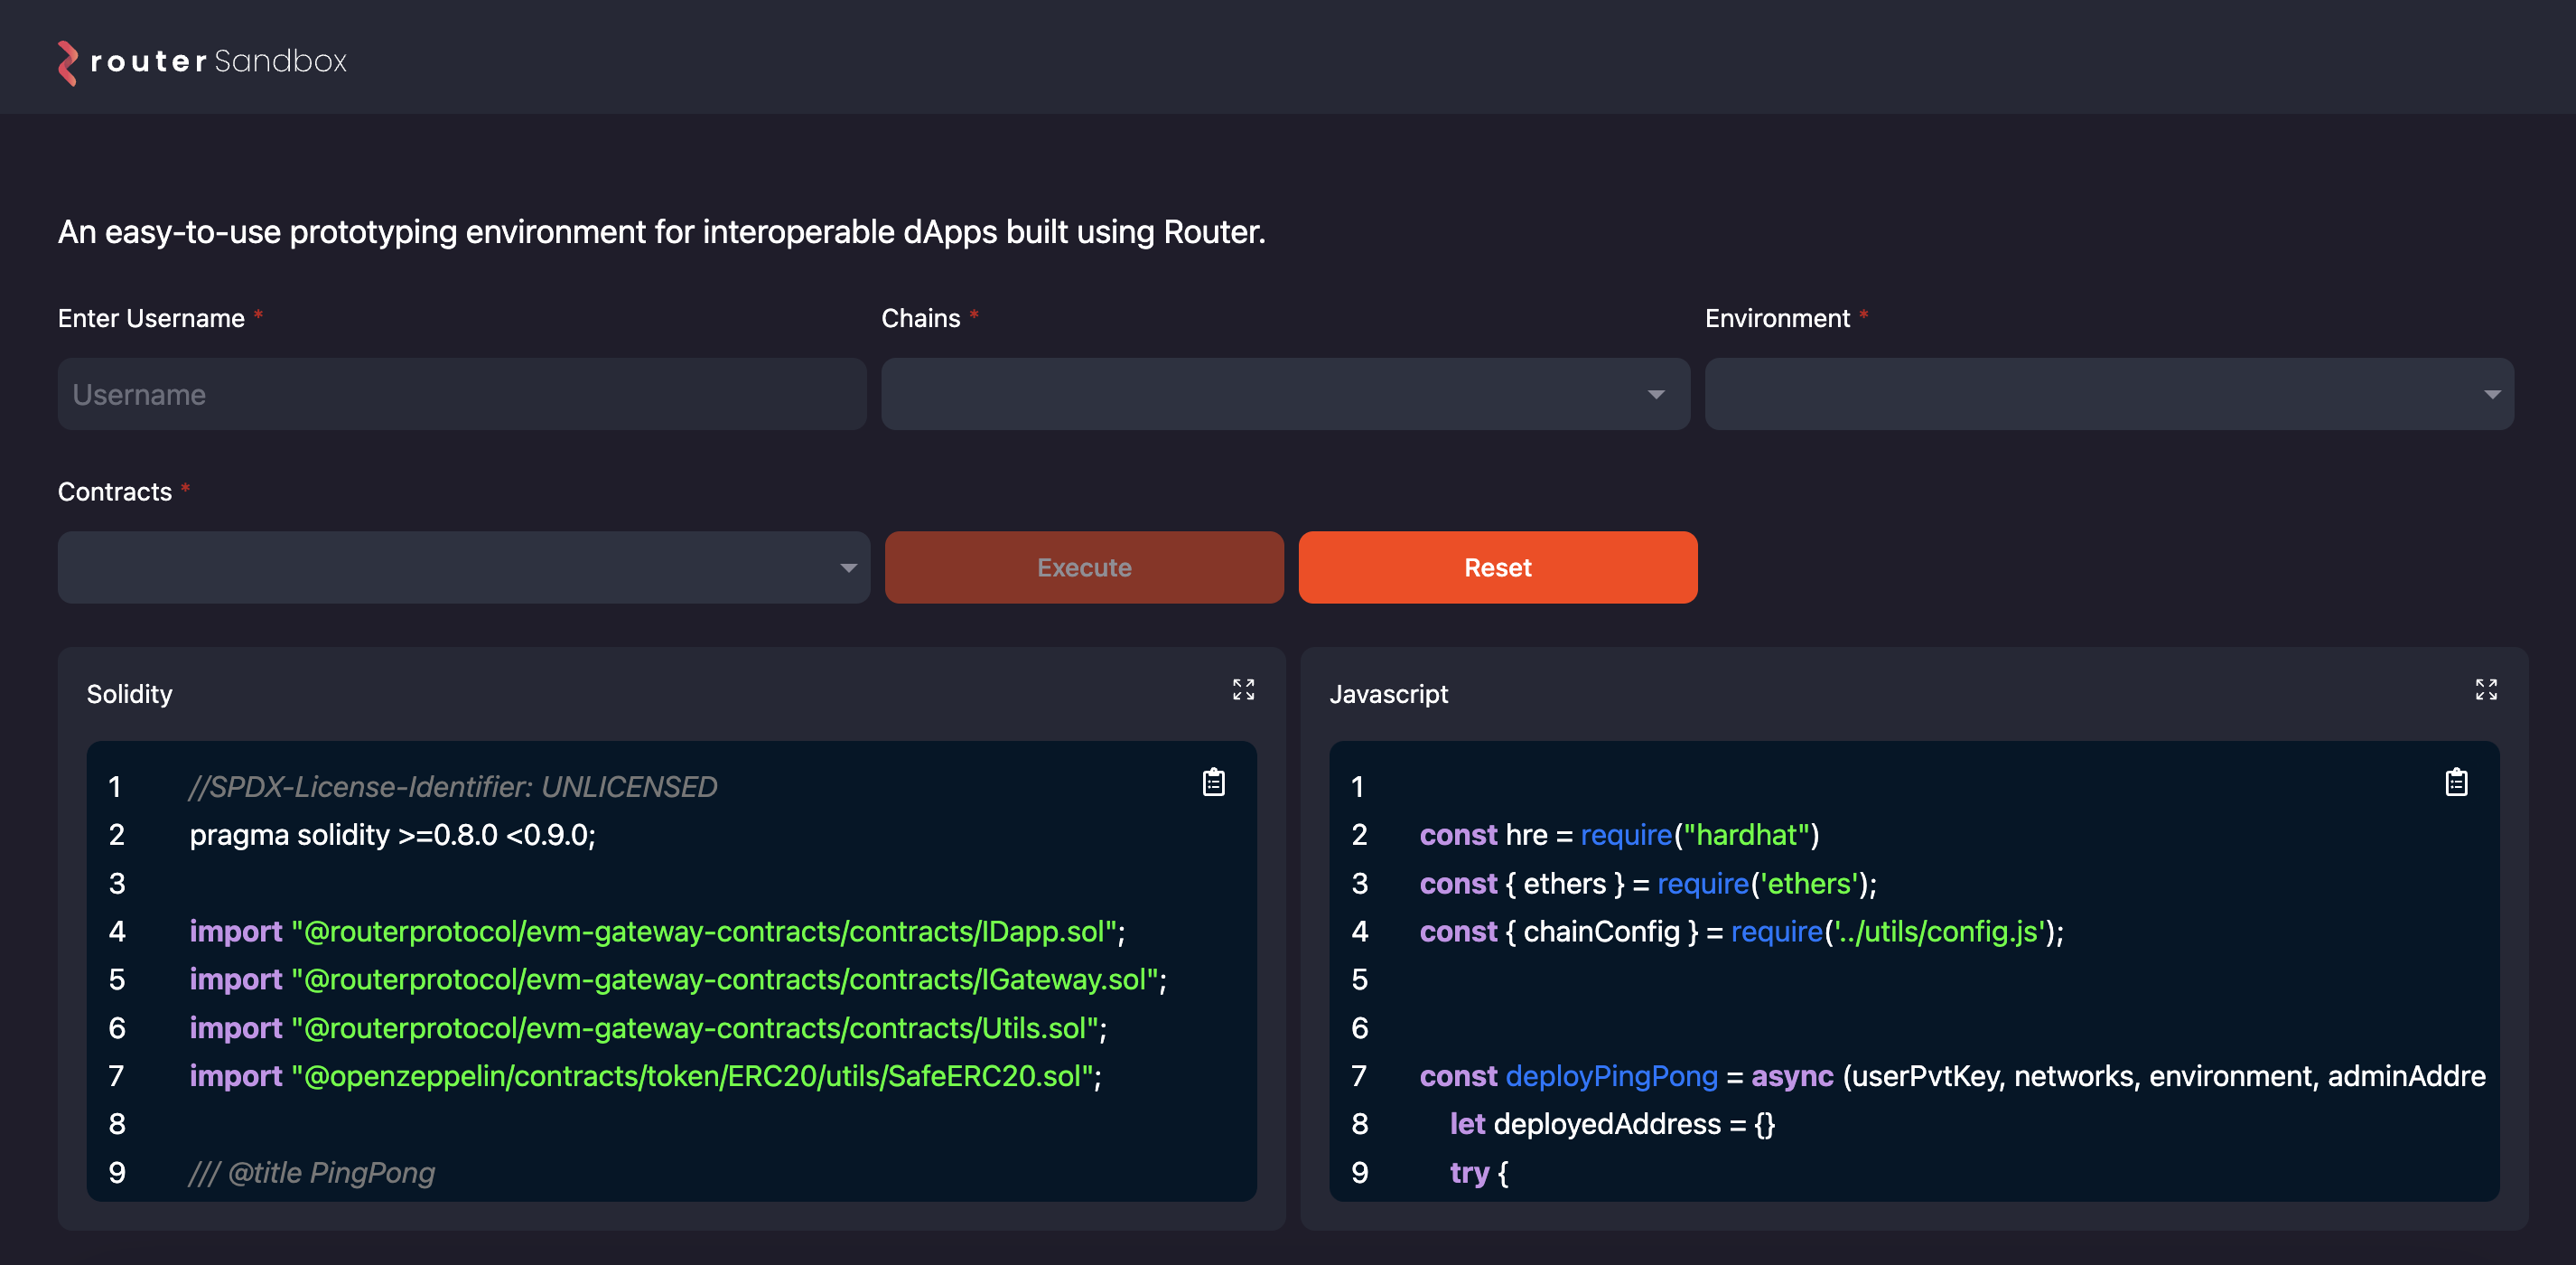
Step 2) Fill the required fields and click on Execute -
- Username: Enter a username of your choice
- Chains: Select a minimum of two chains and a maximum of three. Currently, we support 5 testnets - Fuji (Avalanche), Mumbai (Polygon), Arbitrum Goerli, Mantle Ringwood Testnet, and Scroll Testnet.
- Environment: Currently, we only support the testnet environment.
- Contract: Select the dApp you want to deploy. You can choose either one of the following - Ping Pong, XERC20, XERC721, or XERC1155.
- Username doesn’t need to be unique.
- Network selection is limited to a maximum of three to limit delays associated with contract deployment and verification.
Step 3) Once you click on Execute, you should start seeing all the steps involved in the execution of Router Sandbox.
You can also check out all of the transactions executed in the Sandbox environment under the Transactions section. By clicking on the transaction hash, you can see the detailed view of your transaction on the respective network’s block explorer.
Step 4) [Optional] You can download the private key for the wallet created for you as part of the Sandbox execution.
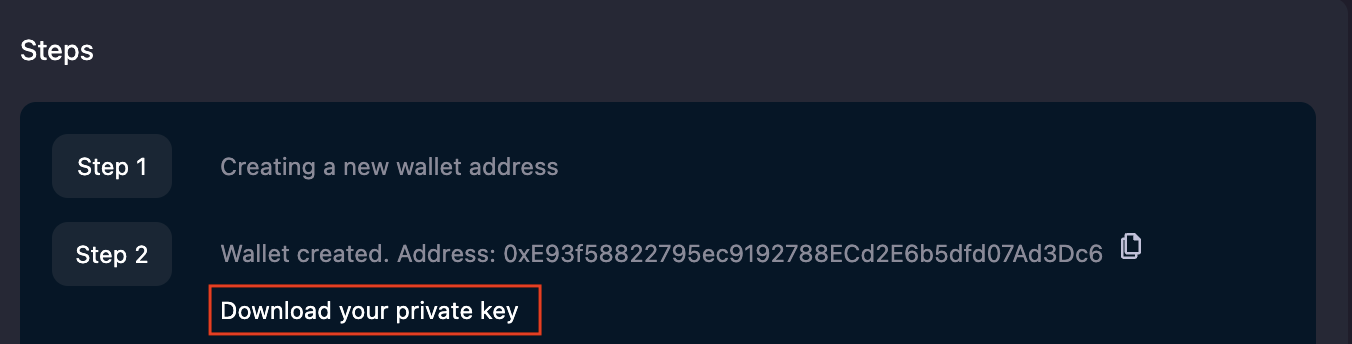
You can import the private key in your MetaMask wallet and use the account to play around with the deployed dApps later. However, we strongly advise not to use this account for any other purposes.
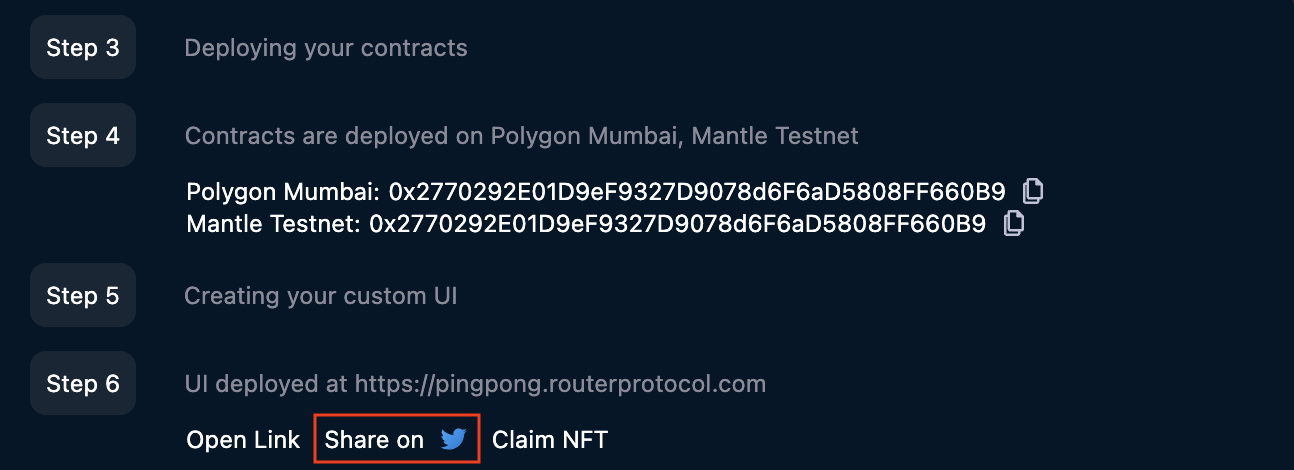
Step 5) [Optional] Once your contracts are deployed and verified, you’ll see a Share on Twitter button. If you liked using Router Sandbox, do share your experience on Twitter and tag us @routerprotocol.
Once you click this button, you’ll be redirected to Twitter with a standard tweet template. Please feel free to edit it.
- If you want to claim a Sandbox POAP NFT, then this is a required step.
- If you selected Ping Pong while using Sandbox, we will also generate a custom UI for your iDapp and provide its URL. You can visit this URL to interact with your application directly.
- After tweeting about Router Protocol, you can click on the Claim your NFT button to mint your NFT.
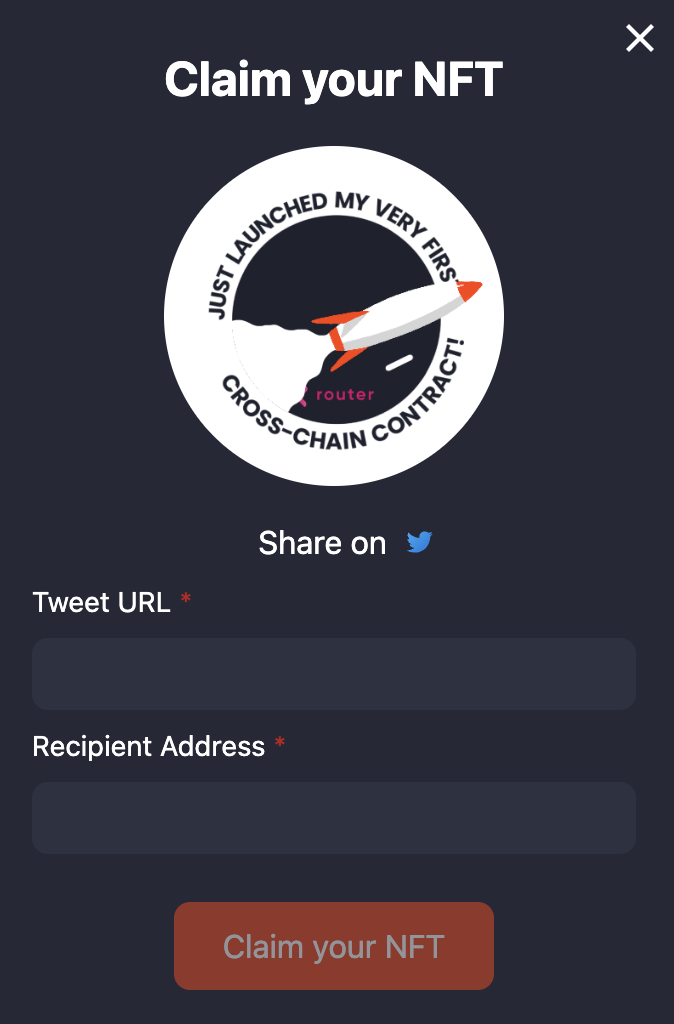
Step 6) [Optional] Post the deployment of contracts, Sandbox will execute a transaction on your behalf. After successful execution of the transaction, a Claim your NFT modal will pop up. Fill in the relevant details and click on Claim your NFT -
- Tweet URL: The URL of your tweet talking about Router Sandbox
- Recipient Address: EVM Wallet address to which the NFT will be minted
- Only 1 NFT will be minted against a Twitter account, i.e., multiple tweets from the same account will not be considered.
- Only 1 NFT will be minted to any wallet address.
- Make sure that your tweet talks about your experience using Router Sandbox since we validate all the submitted tweets.
- After you submit the aforementioned details, it will take 15-30 minutes for us to validate your tweet and mint your NFT.
Step 7) [Optional] If your details are submitted successfully, you should be able to see your NFT in your Router account in 15-20 minutes. To check if you have received your NFT, go to Router Explorer and paste your recipient address in the search box.
You can view your NFTs by clicking on the CW-721 Tokens toggle.
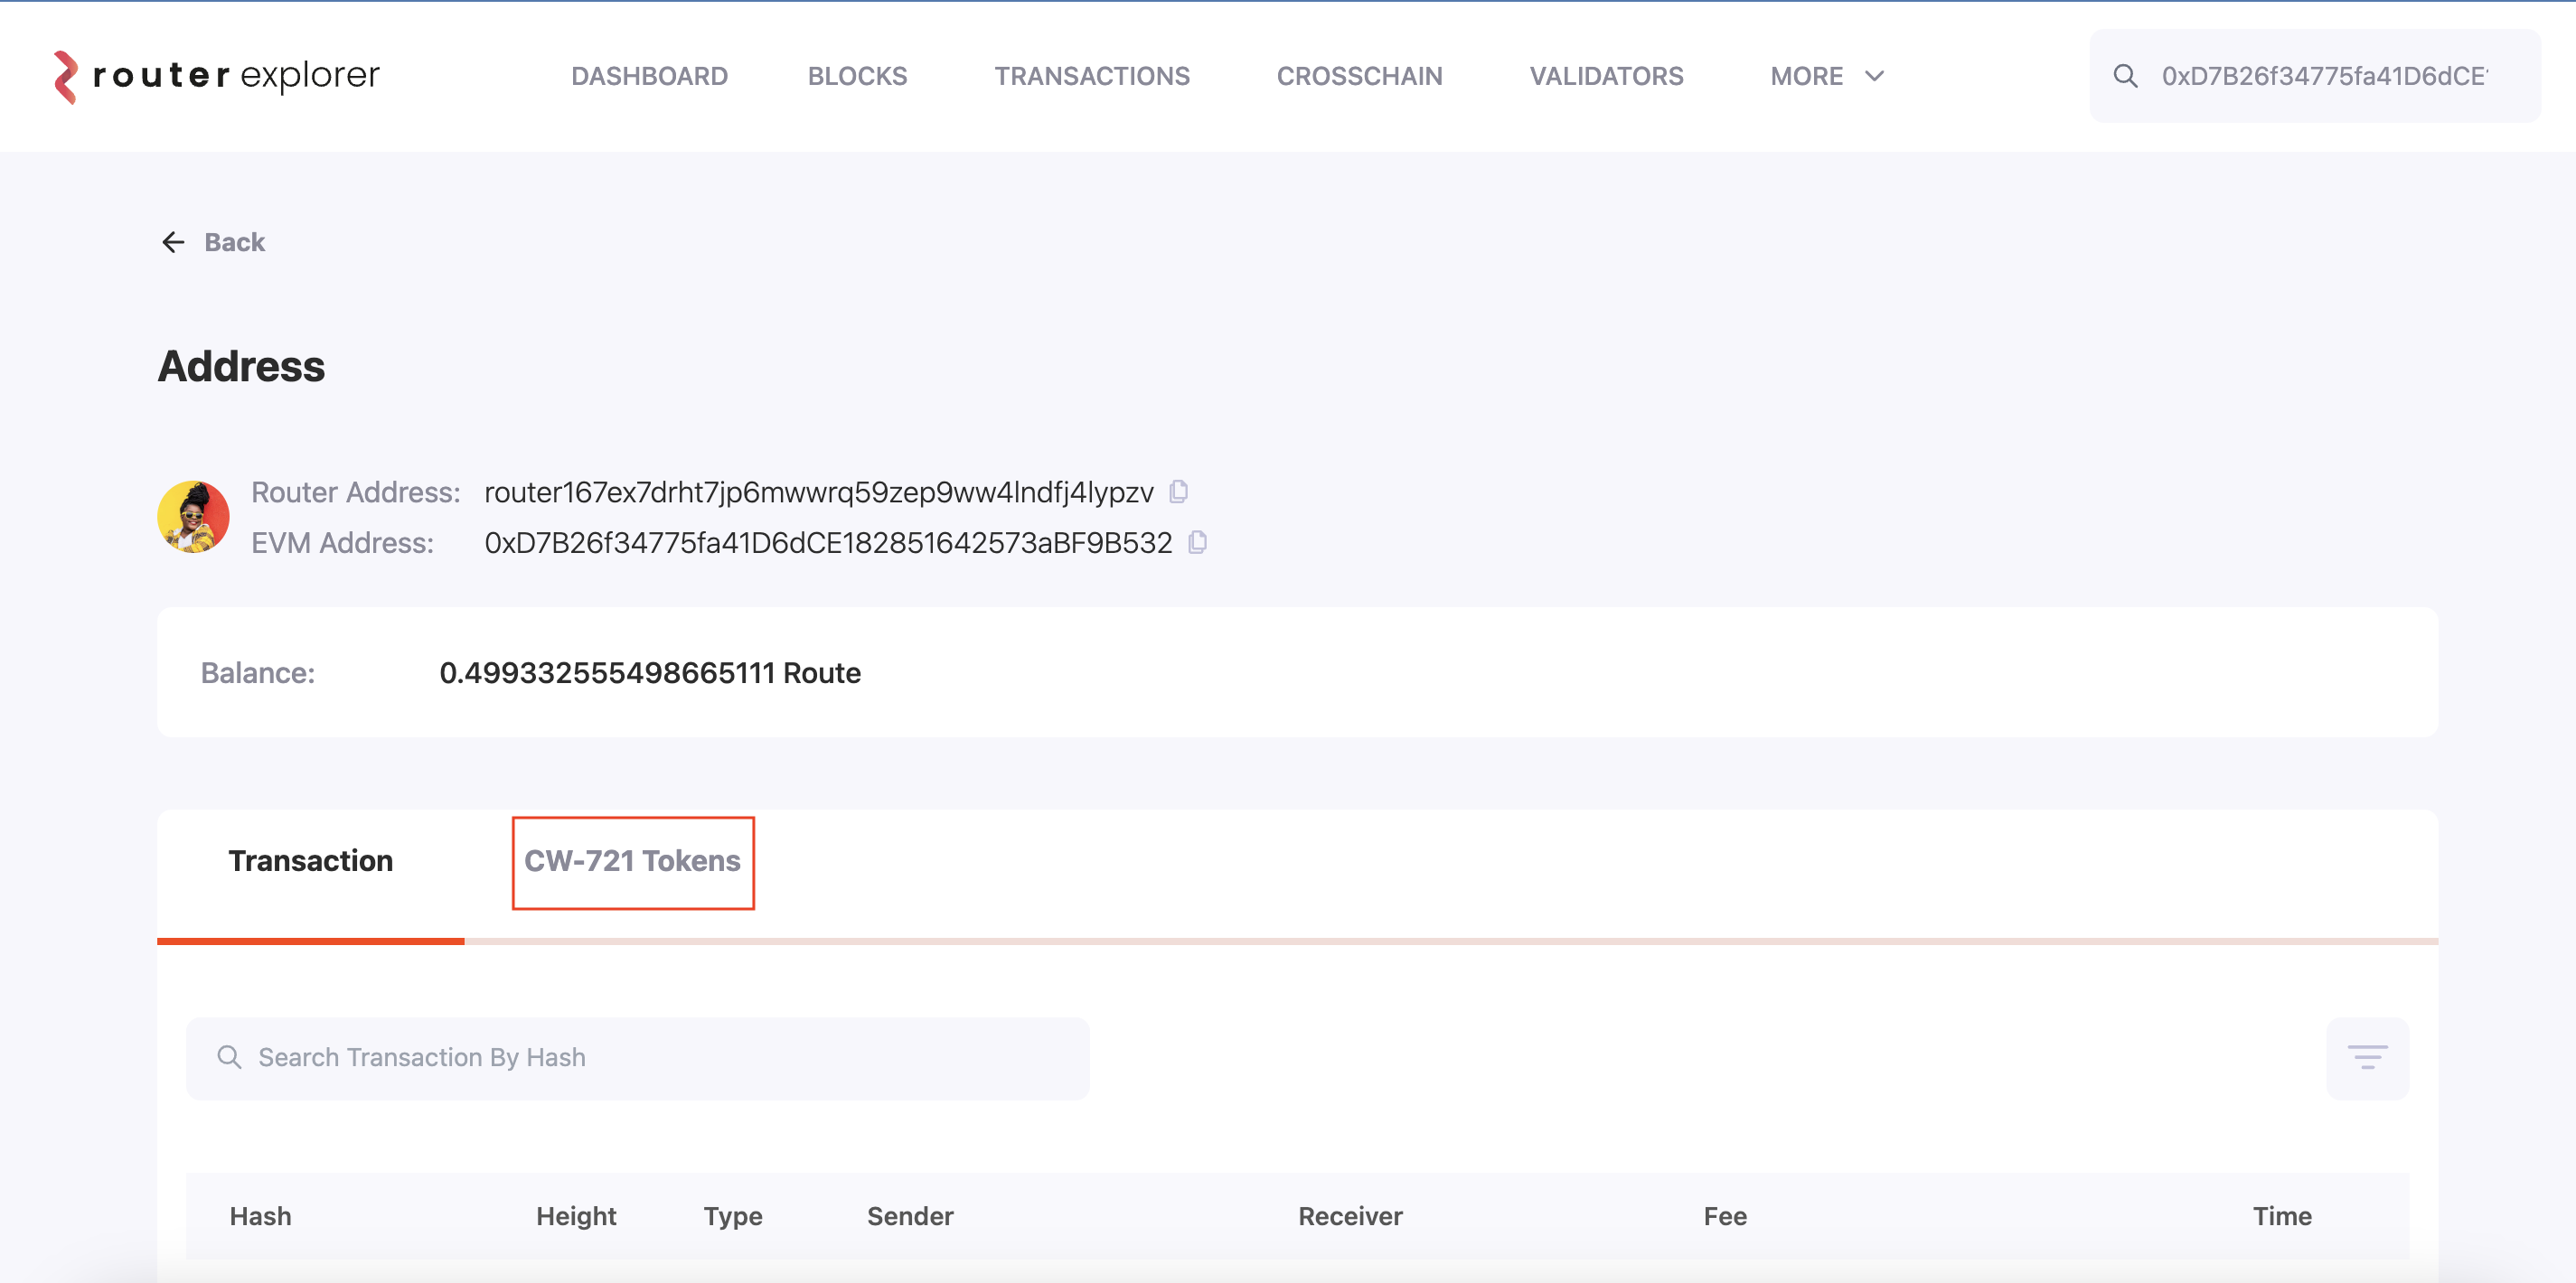
If your NFT has been minted, you will see Router Sandbox POAP as one of the listed NFTs.

If you don’t see your Sandbox NFT listed here, wait for a few minutes and then check again.